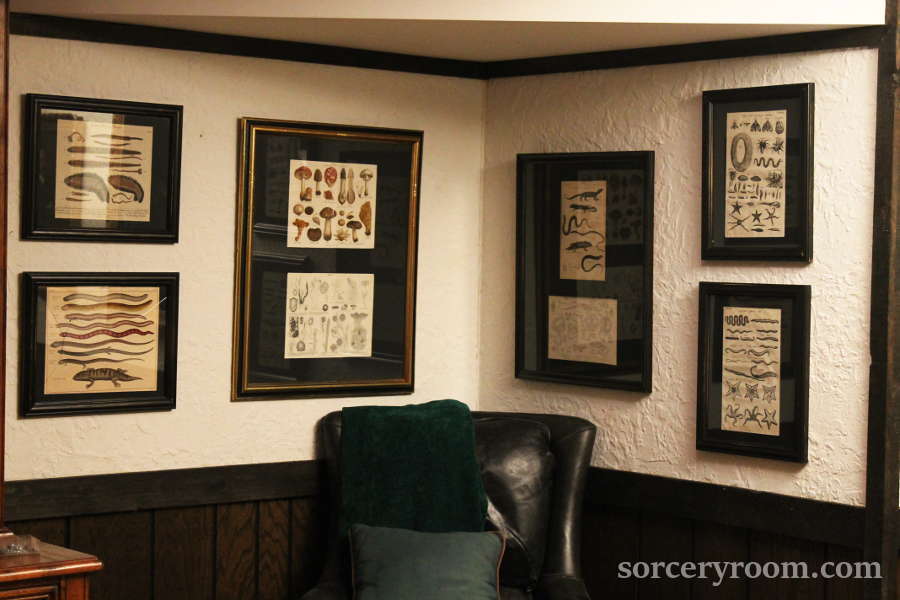
Visitors to the Wizarding World of Harry Potter in Orlando remember the iconic Defense Against the Dark Arts classroom in the Hogwarts Castle waiting queue for Harry Potter and the Forbidden Journey attraction. That’s where Ron, Harry, and Hermione appear on the balcony and talk to the visitors about getting a tour of the castle.
This classroom features multiple depictions of animals that are associated with venoms and magical uses as part of its spooky school vibe. Now, you can create your own version of these props with a DIY Harry Potter-inspired art project.
To create this art, you will need:
- Natural history prints.
- Frames of appropriate size. I prefer black and gold colors, but it’s a choice.
- Large format poster paper for matting. Black and white are usually available from craft stores, Walmart, and Target.
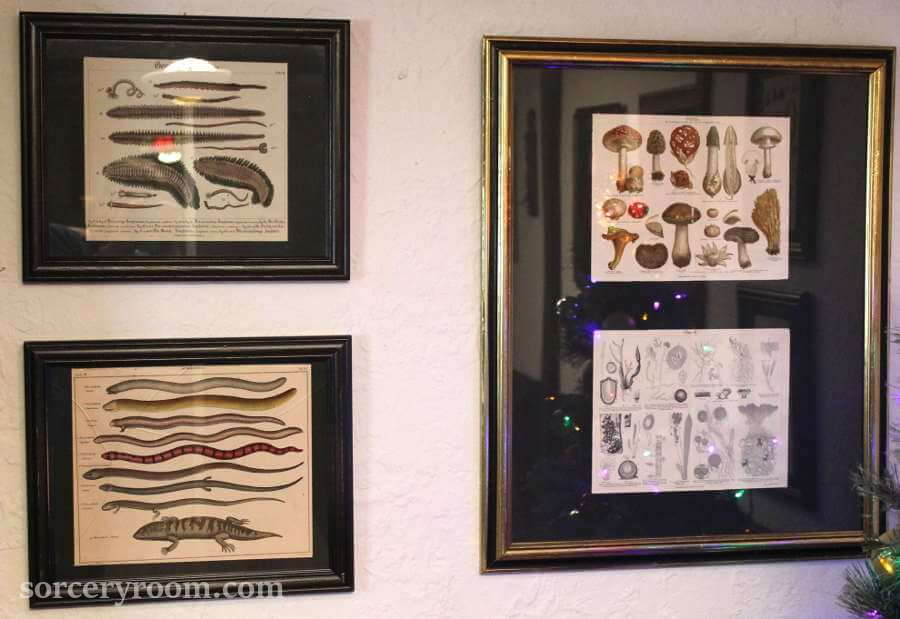
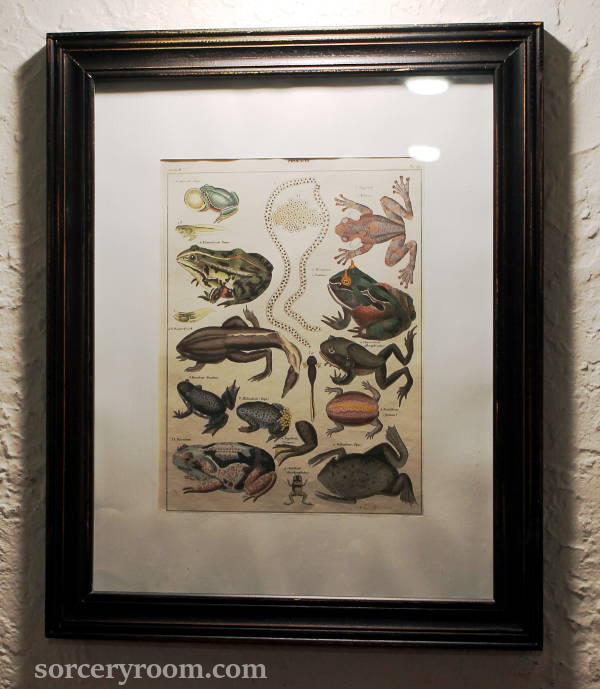
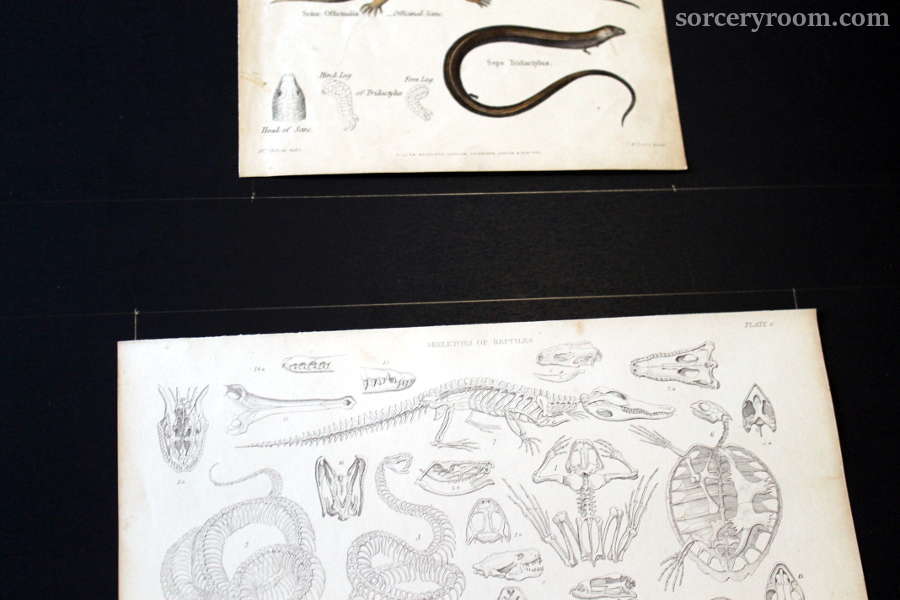
The good news is wonderful natural history prints fit for the classroom are offered inexpensively on sites such as eBay. Look for prints of live things associated with venoms and poisons such as snakes, frogs, spiders, plants, and mushrooms. Also, look for prints of insects, worms, and reptiles that people presumed to have magical attributes. A skeleton or a dissection are a lucky find. The “grosser” the print, the better! Find prints that are interesting and the right size to fit in your space.
The next step is to find print frames. I shopped at antique stores for inexpensive prints in gold or black frames of the appropriate size to repurpose. I also spray-painted some frames to make sure they matched in color.
To complete your Harry Potter-inspired art project, you will need to use poster paper as matting. This can be used to bring out the antique prints, while also creating a nice contrast against the black frames. Use a large format to bring out the details of the prints.
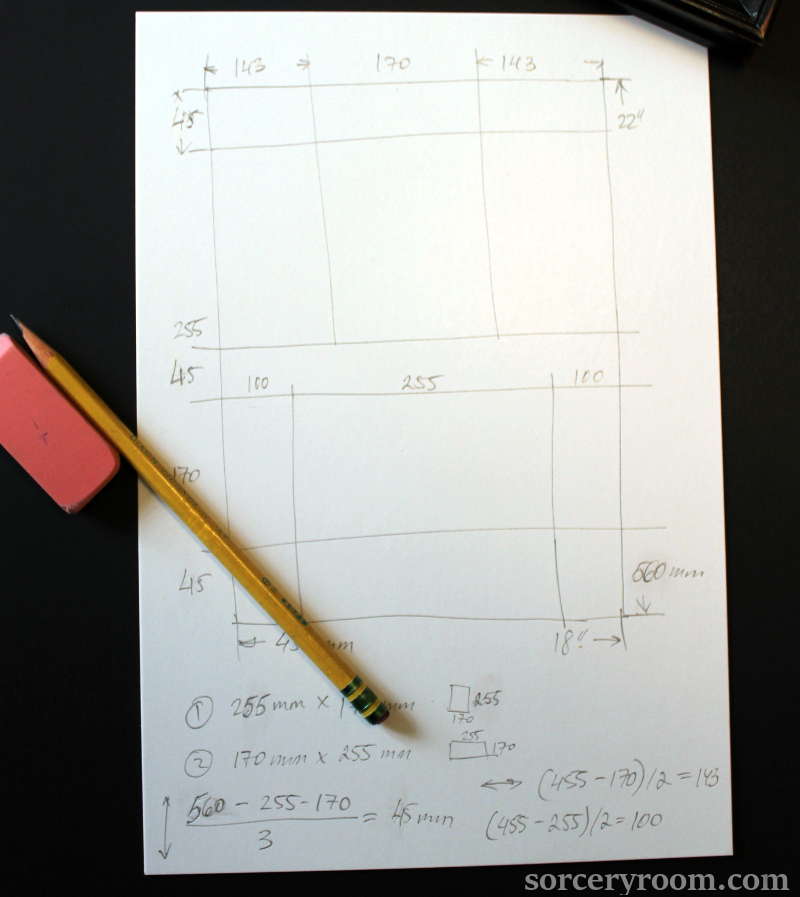
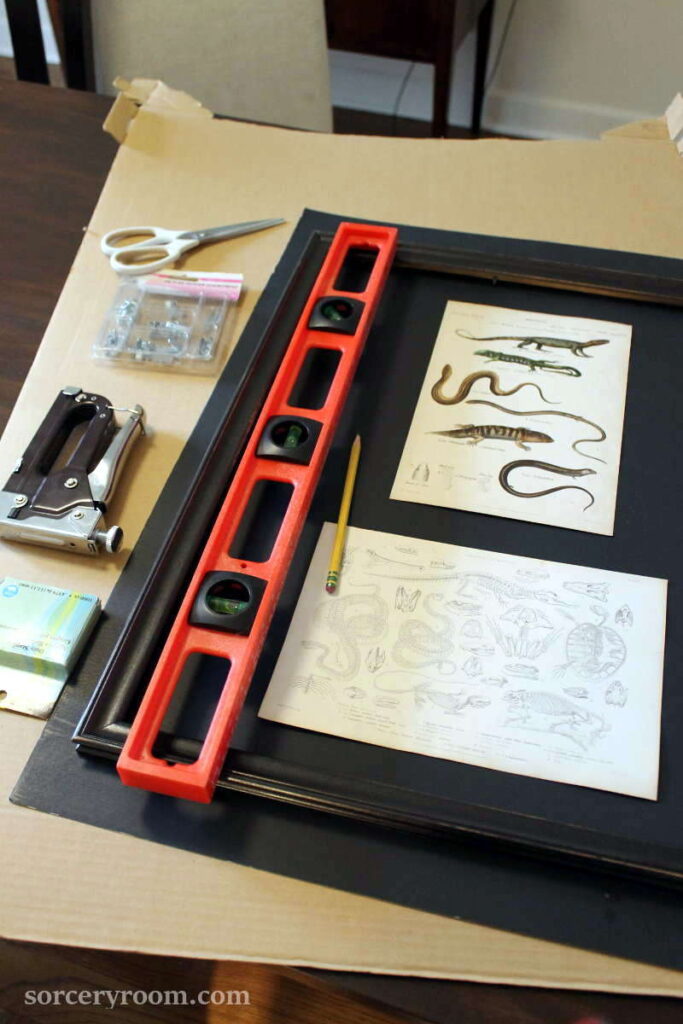
Measure the frame and create the layout of your art. Tip: measure in millimeters for easy precision.
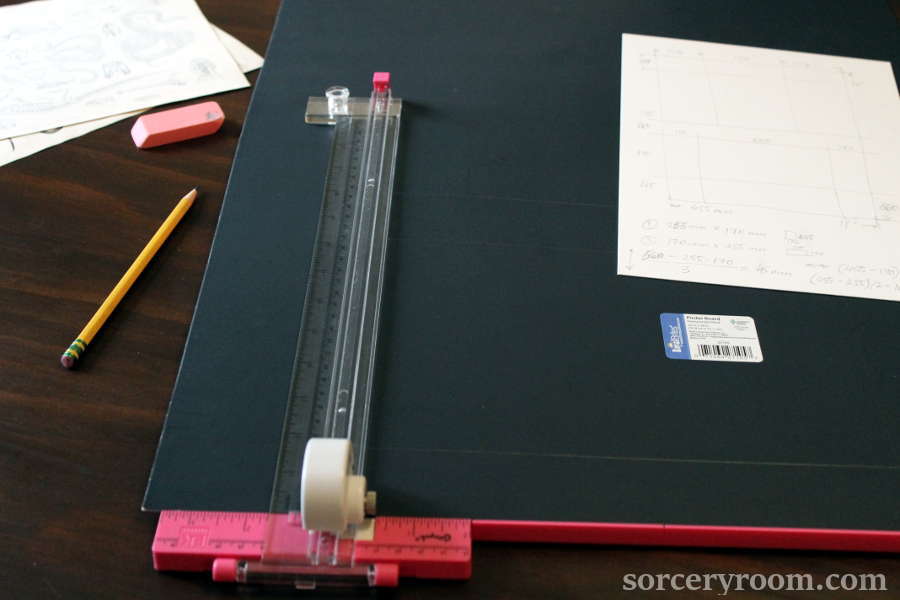
Cut the black matting to size, and then draw the layout with a pencil on the back of it. Make sure to compare the windows to the prints side by side before cutting them out (this tip saved my bacon/paper many times).
Cut out the windows for the prints.
Once the windows are cut out from the poster paper, it is time to attach the prints. Place the prints on the back of the paper and secure them with tape. Make sure that the prints are properly secured before moving on to the next step.
Thoroughly clean the glass before putting your art project together. Every speck of dust is visible against the black paper, so it is important to make sure that the glass is as clean as possible.
Place the matting with the prints inside the frame. Use cardboard for backing and attach it with staples. Then, attach a hanging wire to the back of the frame and it will be ready to hang.
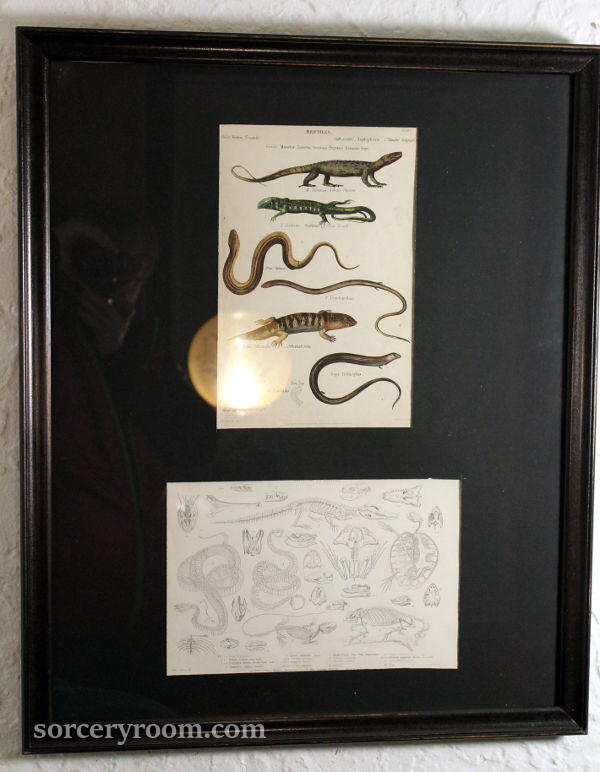
With this DIY Harry Potter-inspired art, you can create your own art worth of a Hogwarts classroom. This is an easy project, and with the right antique prints and frames, you will be able to project the true wizarding student feeling. This art can be used for a classroom-inspired study or a Gryffindor or Slytherin themed space similar to the ones that I created.