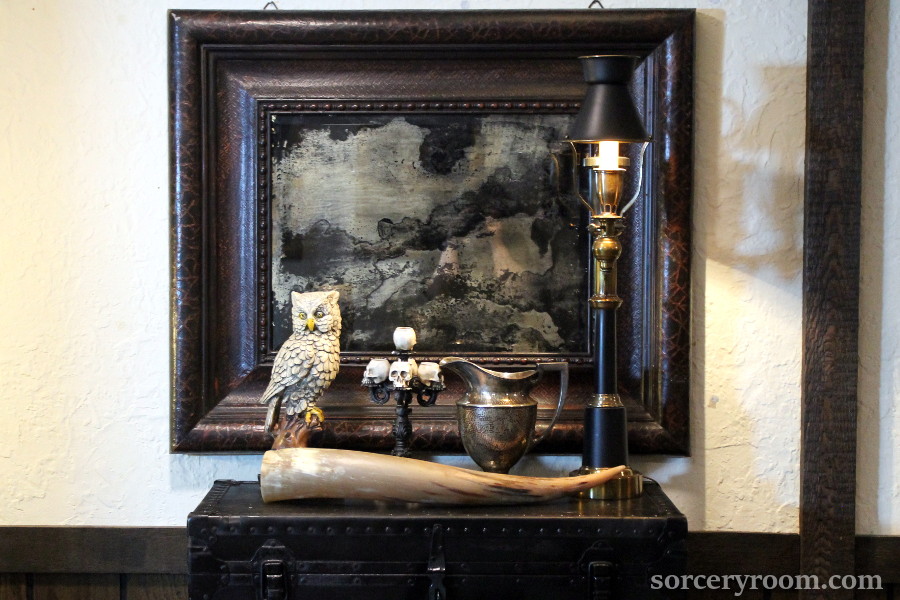
Do you want to immerse yourself in Hogwarts’ Slytherin House and add a touch of old-world charm to your home décor? You may want to consider antiquing a mirror, one of the signature elements of Slytherin-themed room décor.
These mirrors mimic the aged reflective surface with clouded and black spots, as shown in the Slytherin common room as well as at the Black family residence at 12 Grimmauld Place in the Harry Potter series.
This article will briefly guide you on how to give a new life to a regular mirror and transform it into a stunning vintage artifact using some standard tools and materials.
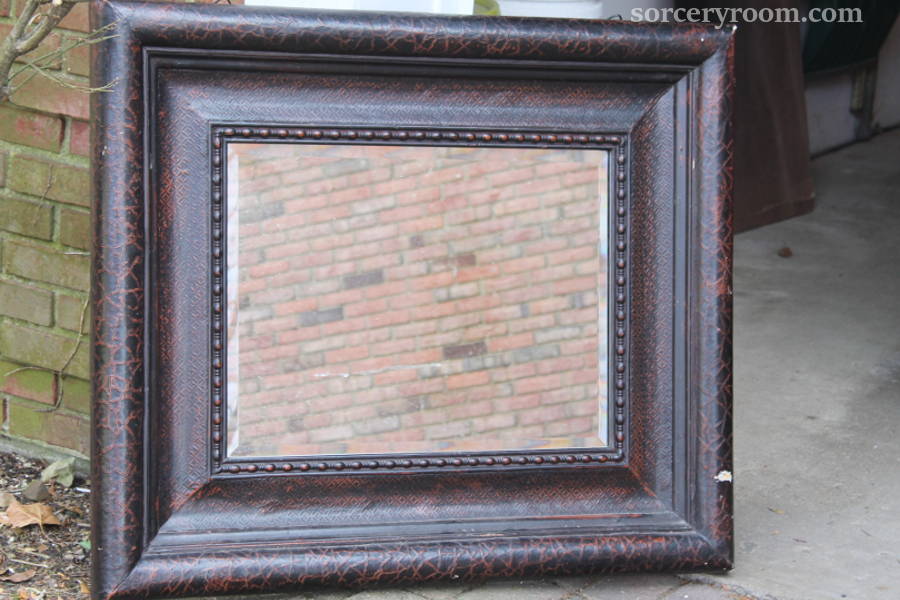
Find a Mirror in a Dark and Preferably Detailed Frame
First, you should start with a mirror that you can work on. It can be any readily available mirror with a solid frame. You can easily find such a mirror in a thrift store – I myself purchased a 30-dollar mirror housed in a heavy flame – and we’ll be focusing on creating the Slytherin mirror using this mirror as a base.
Get the Supplies
Here’s what you’re going to need to turn your basic mirror into a fantastic piece of wizarding decor:
- Paint stripper
- Paint stripper afterwash
- A metal putty knife
- Clorox (you can use a spray bottle and a disposable cup with a fork)
- Black paint (preferably, spray paint for better adhesion)
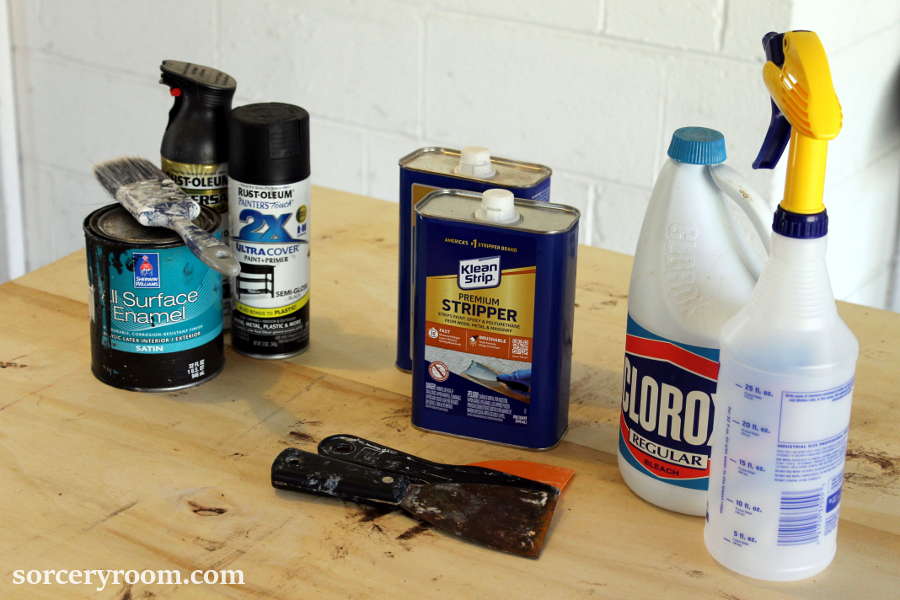
Some DIYers noted that their paint stripper did not work on modern Chinese-made mirrors with the brick-colored background, but the Klean Strip original paint stripper did a nice job on mine Chinese-made mirror.
The Process
The transformation process can be divided into several steps as detailed below.
- Detach the mirror from the frame. Depending on your mirror’s structure, there may be a removable cover at the back, as in my case.
- Stripping Back the Paint. Apply a layer of paint stripper at the back of the mirror. Factor in that original factory paint can be quite stubborn, so you may need to wait longer for the paint to deteriorate. Cover every square inch/centimeter thoroughly.
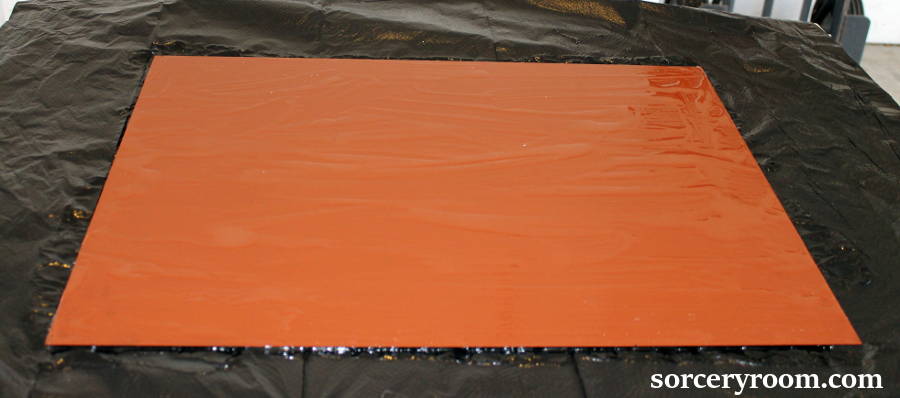
- After the paint has sufficiently softened (which in my case was a little over 30 minutes), you can scrape it away with your metal putty knife. Check if the paint is ready for scraping before you start. Use caution at this stage to avoid damaging the reflective paint.
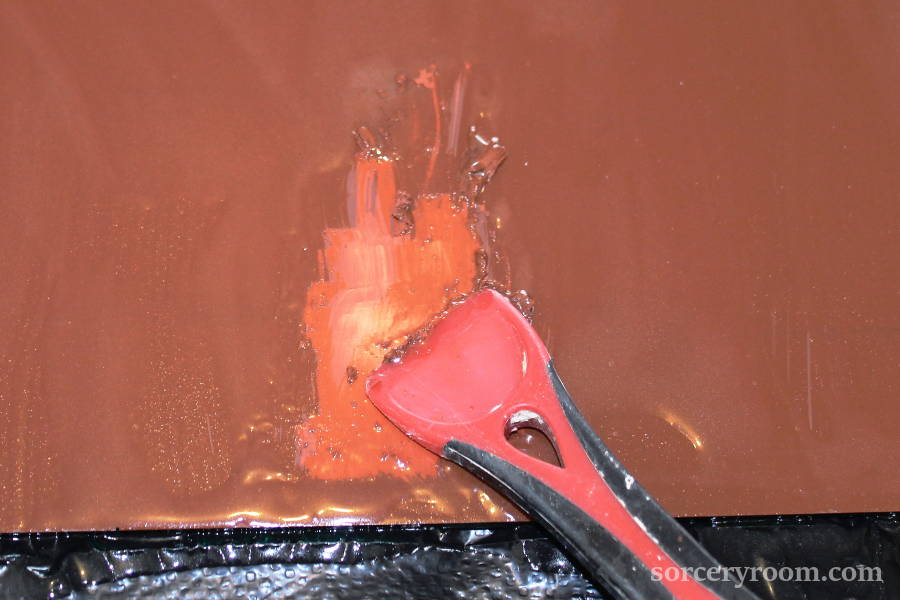
- The Afterwash. Use your paint stripper afterwash to cleanse any residue. You can test a small portion first, ensuring it doesn’t strip away the golden reflective surface. Following these steps, the back of your mirror should now have a light golden hue.
- The Fun Part – Destruction. This is where the real transformation begins as you ‘age’ the mirror. I began by spraying a 50/50 Clorox and water mix, but this may not yield the desired effect instantly. If needed, you can upgrade to full-strength Clorox, applied with a disposable cup and spoon, and then wait for around 30 minutes to attain the right degree of antiquing.
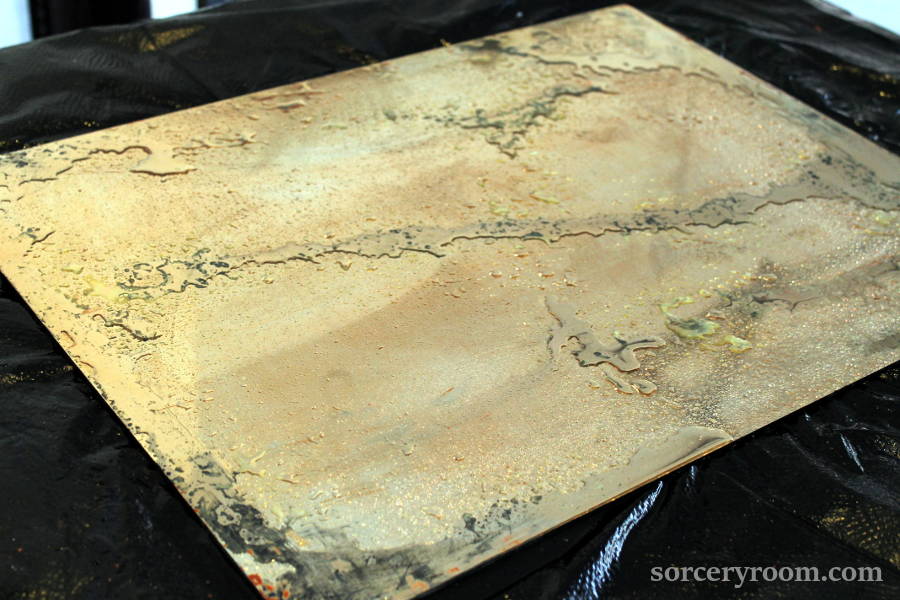
- The Behind-the-Scenes Paintwork. Before you start painting, remember to clean the surface thoroughly. The color you choose here will reflect on the front, hence, for our Slytherin theme, black is the way to go. I found that spray paint adheres better to the glass than acrylic paint, so I’d recommend that. Allow sufficient drying time between two coats.
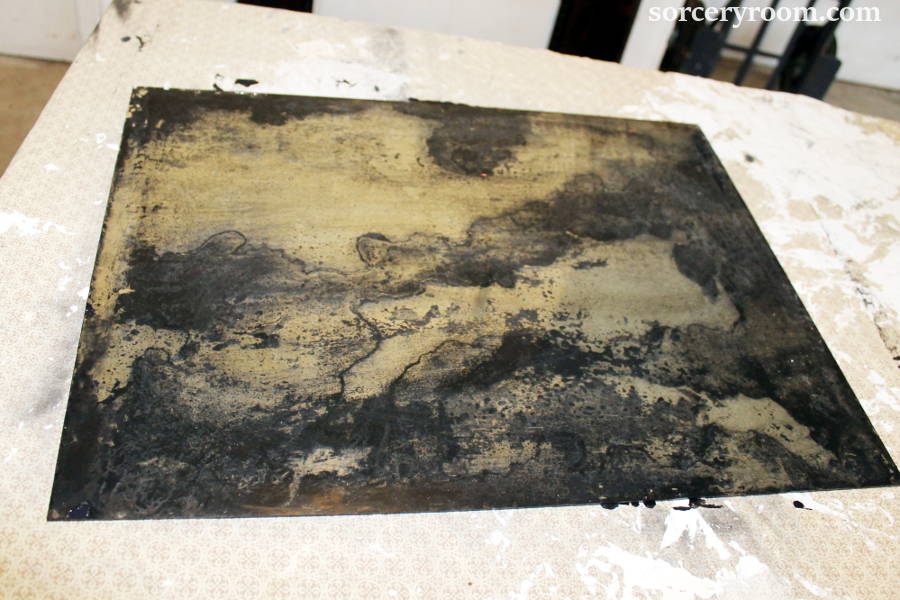
- The Grand Finale: After the mirror has completely dried – I suggest giving it a full day – patiently work it back into the frame.
Voila! Your stunning and mysterious Slytherin themed antiqued mirror is ready to hang! You can now step back and admire the magical charm and haunting beauty the mirror adds to your room.
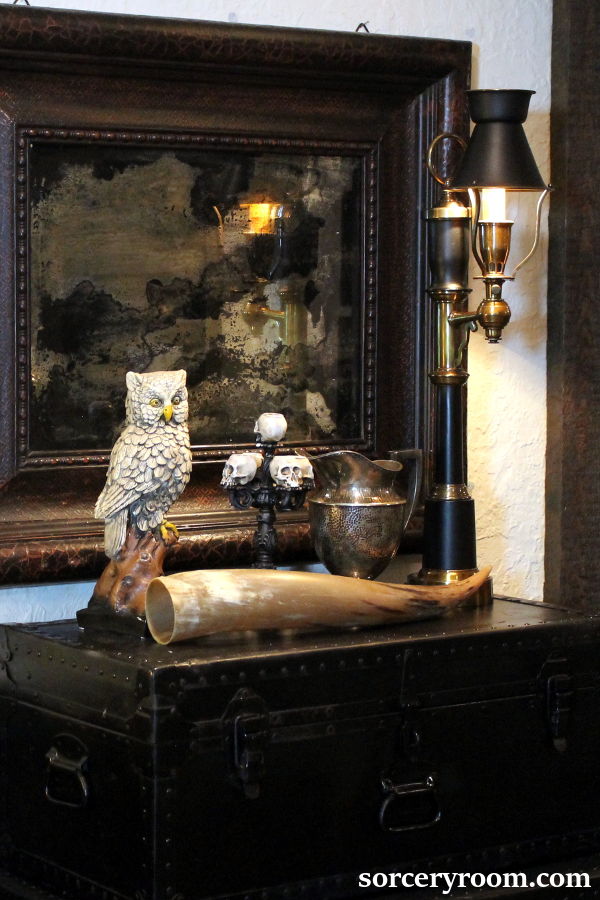
Remember though, this DIY process can be a bit messy and time consuming. But the end result is most certainly worth it. The mirror not only adds a spooky ambiance in your Slytherin-inspired room but also a dash of sophistication and elegance. Whether you are a Harry Potter fan or just a lover of distinctive decor, this enchanting aged mirror will definitely cue the magic!
To learn more about creating your own Slytherin inspired room, check out this article:
More Harry Potter DIY projects:
